Use Popeye to Check for Kubernetes Configuration Issues
Traducciones al EspañolEstamos traduciendo nuestros guías y tutoriales al Español. Es posible que usted esté viendo una traducción generada automáticamente. Estamos trabajando con traductores profesionales para verificar las traducciones de nuestro sitio web. Este proyecto es un trabajo en curso.
Popeye is an open-source read-only tool used from wherever a user has kubectl installed, using Kubernetes contexts defined in a kubeconfig file. It automatically scans live Kubernetes clusters, and provides an administrator with insight into issues that could arise from deployed resources and configurations. Once installed, Popeye will perform a comprehensive scan of your current configuration based on your active kubeconfig whenever entering the following command:
popeyePopeye can either be installed using the package manager Homebrew, by using the binary from a tarball hosted on Popeye’s github or by installing via source. While any option is possible, this guide will only focus on the installation process using Brew on both Ubuntu 20.04 and Mac OSx, and through Linux binary tarballs. That being said, the installation process should be largely the same across Operating Systems and Distros, and steps can be adjusted as needed.
Install Popeye
Install Popeye Using Homebrew
Ubuntu 20.04
Before proceeding with installation on Ubuntu 20.04 LTS, ensure that all of the following commands are entered as a limited sudo user with access to a fully configured LKE or Kubernetes cluster with kubectl fully installed and using your kubeconfig configuration file. A good way to test this is to ensure that you can see all nodes in your cluster when entering the following command:
kubectl get nodesThe following steps will complete the installation of popeye on Ubuntu 20.04 LTS:
Ensure that your system is up to date:
sudo apt update && sudo apt upgradeInstall all packages that Homebrew relies on:
sudo apt install build-essentialInstall Homebrew via the installation script, agreeing to all prompts:
/bin/bash -c "$(curl -fsSL https://raw.githubusercontent.com/Homebrew/install/HEAD/install.sh)"Once the installation script is complete, you will need to add Homebrew to your PATH. Enter the following commands, replacing
usernamewith your current username:echo 'eval "$(/home/linuxbrew/.linuxbrew/bin/brew shellenv)"' >> /home/username/.profile eval "$(/home/linuxbrew/.linuxbrew/bin/brew shellenv)"Use Homebrew to install Popeye:
brew install derailed/popeye/popeye
MacOS
The following steps will complete the installation of Popeye on MacOS:
Ensure that you can see all nodes in your cluster when entering the following command:
kubectl get nodesInstall Homebrew via the installation script if it has not been already, agreeing to all prompts:
/bin/bash -c "$(curl -fsSL https://raw.githubusercontent.com/Homebrew/install/HEAD/install.sh)"Install Popeye:
brew install derailed/popeye/popeye
Install Popeye using Linux Binary Tarballs
Before proceeding with the installation of popeye, ensure that wget is installed on your system. Once installed proceed with the following steps:
Determine the architecture of your system:
uname -mUsing
wget, download the Linux tarball for Popeye matching the latest release and your architecture, in this casev0.9.8as the latest release andx86_64as the architecture:wget https://github.com/derailed/popeye/releases/download/v0.9.8/popeye_Linux_x86_64.tar.gzUnpack the tarball:
tar -xzf popeye_Linux_x86_64.tar.gz
Using Popeye
Once installed via brew, Popeye can perform a scan by entering the following command:
popeyeIf installed from the tarball, navigate to your home directory and enter the following command to allow the program to execute:
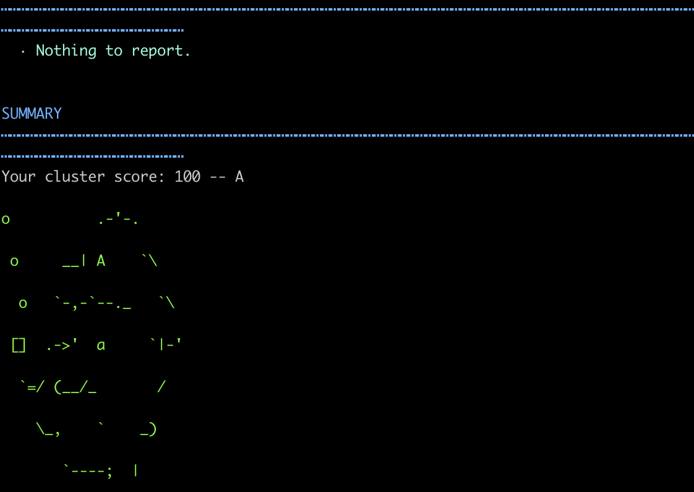
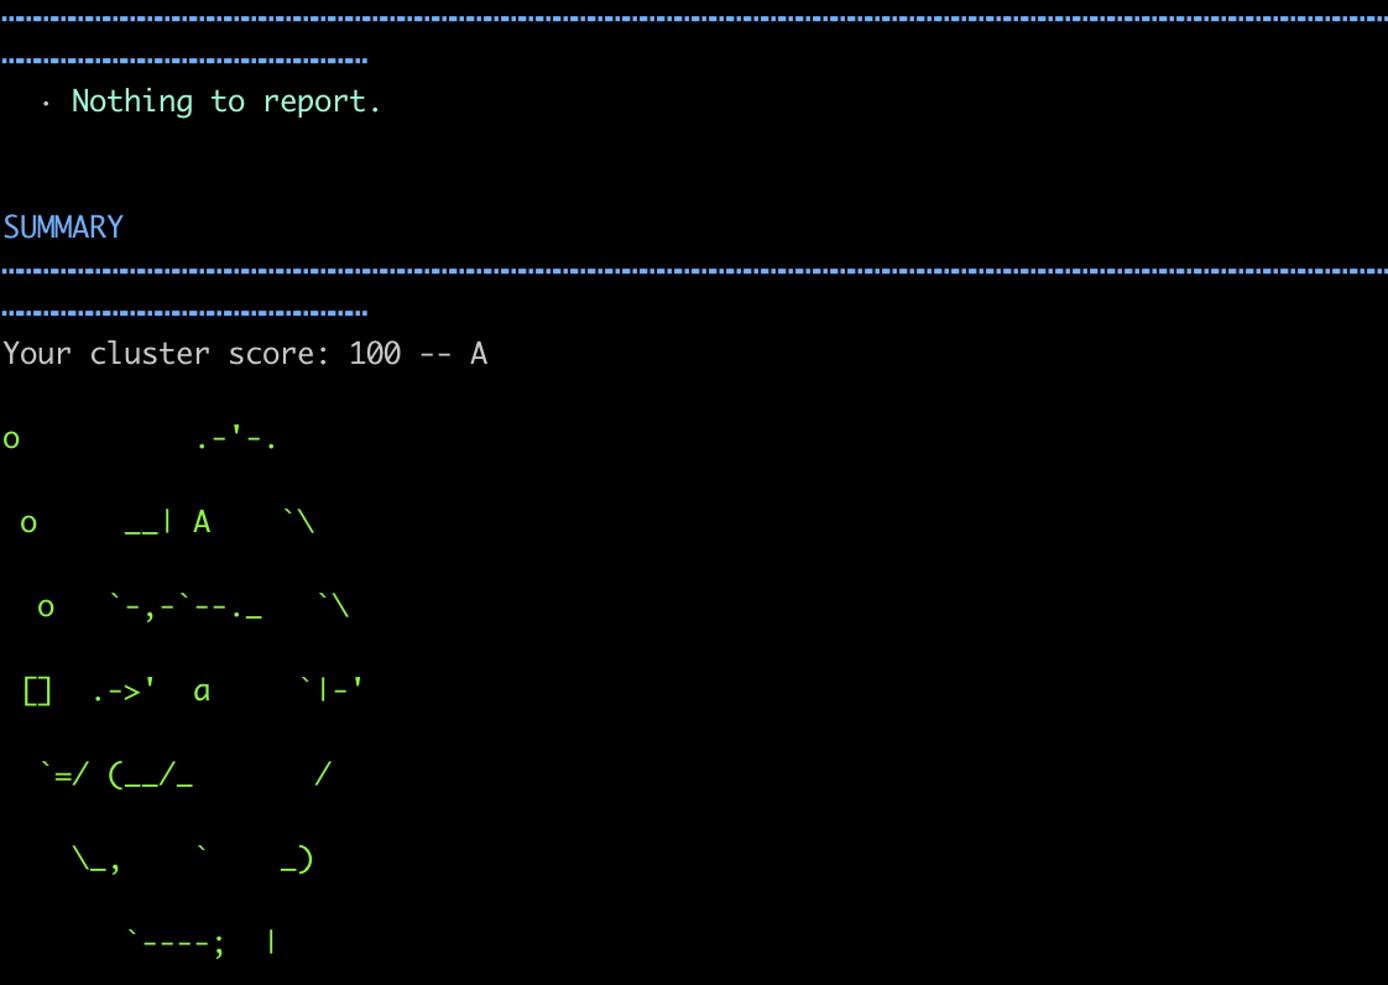
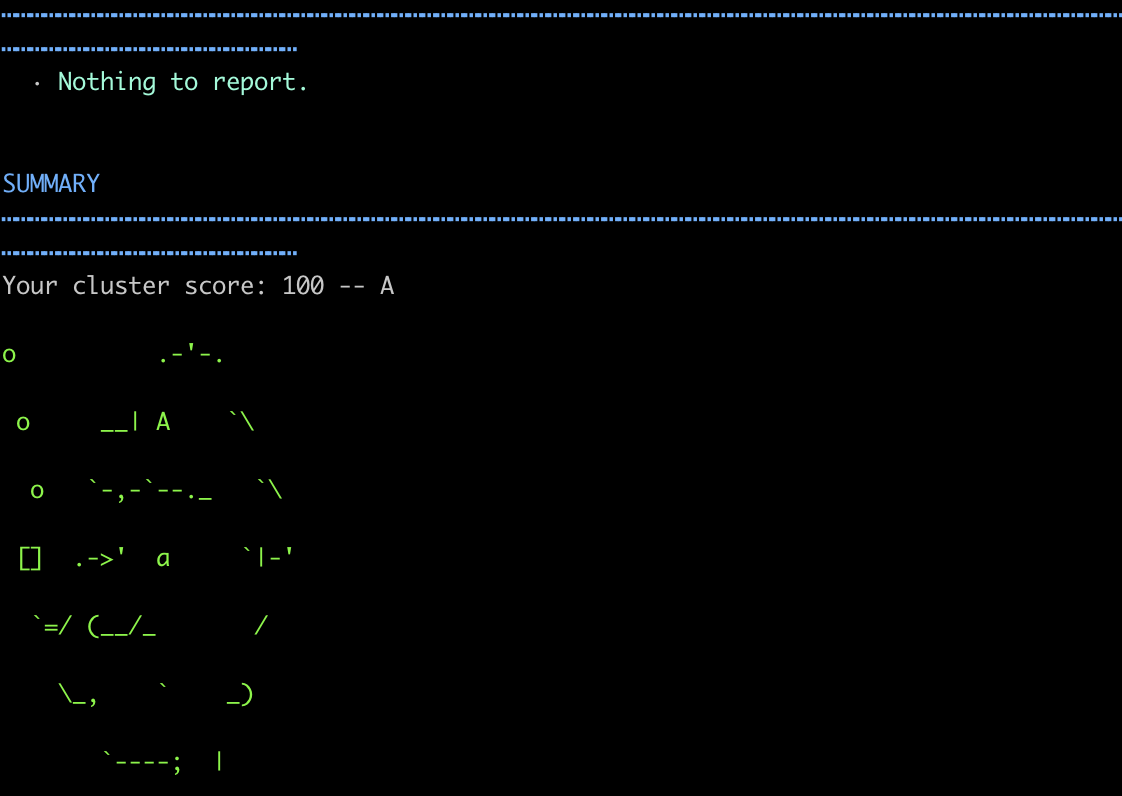
./popeyeOnce entered, Popeye will begin scanning against your current cluster context immediately, outputting a list of information pertaining to your configuration, and a letter grade once the script completes. Review the information that’s outputted, and remediate issues as they arise to help ensure the migration process can be completed successfully. In a near perfect configuration, you should receive a letter grade of A.


More Information
You may wish to consult the following resources for additional information on this topic. While these are provided in the hope that they will be useful, please note that we cannot vouch for the accuracy or timeliness of externally hosted materials.
This page was originally published on

